Aluminum Furniture Patio Replacement Slings For The Following Brands - And Others !


Our Email Contact: CustomerService@SFPatioFurniture.com
General Information
Slings are custom-made per order and based upon the customers' dimensions taken
Model identification is not used for replacement slings in AL furniture - dimensions are used
Ship times vary with seasonal production demands
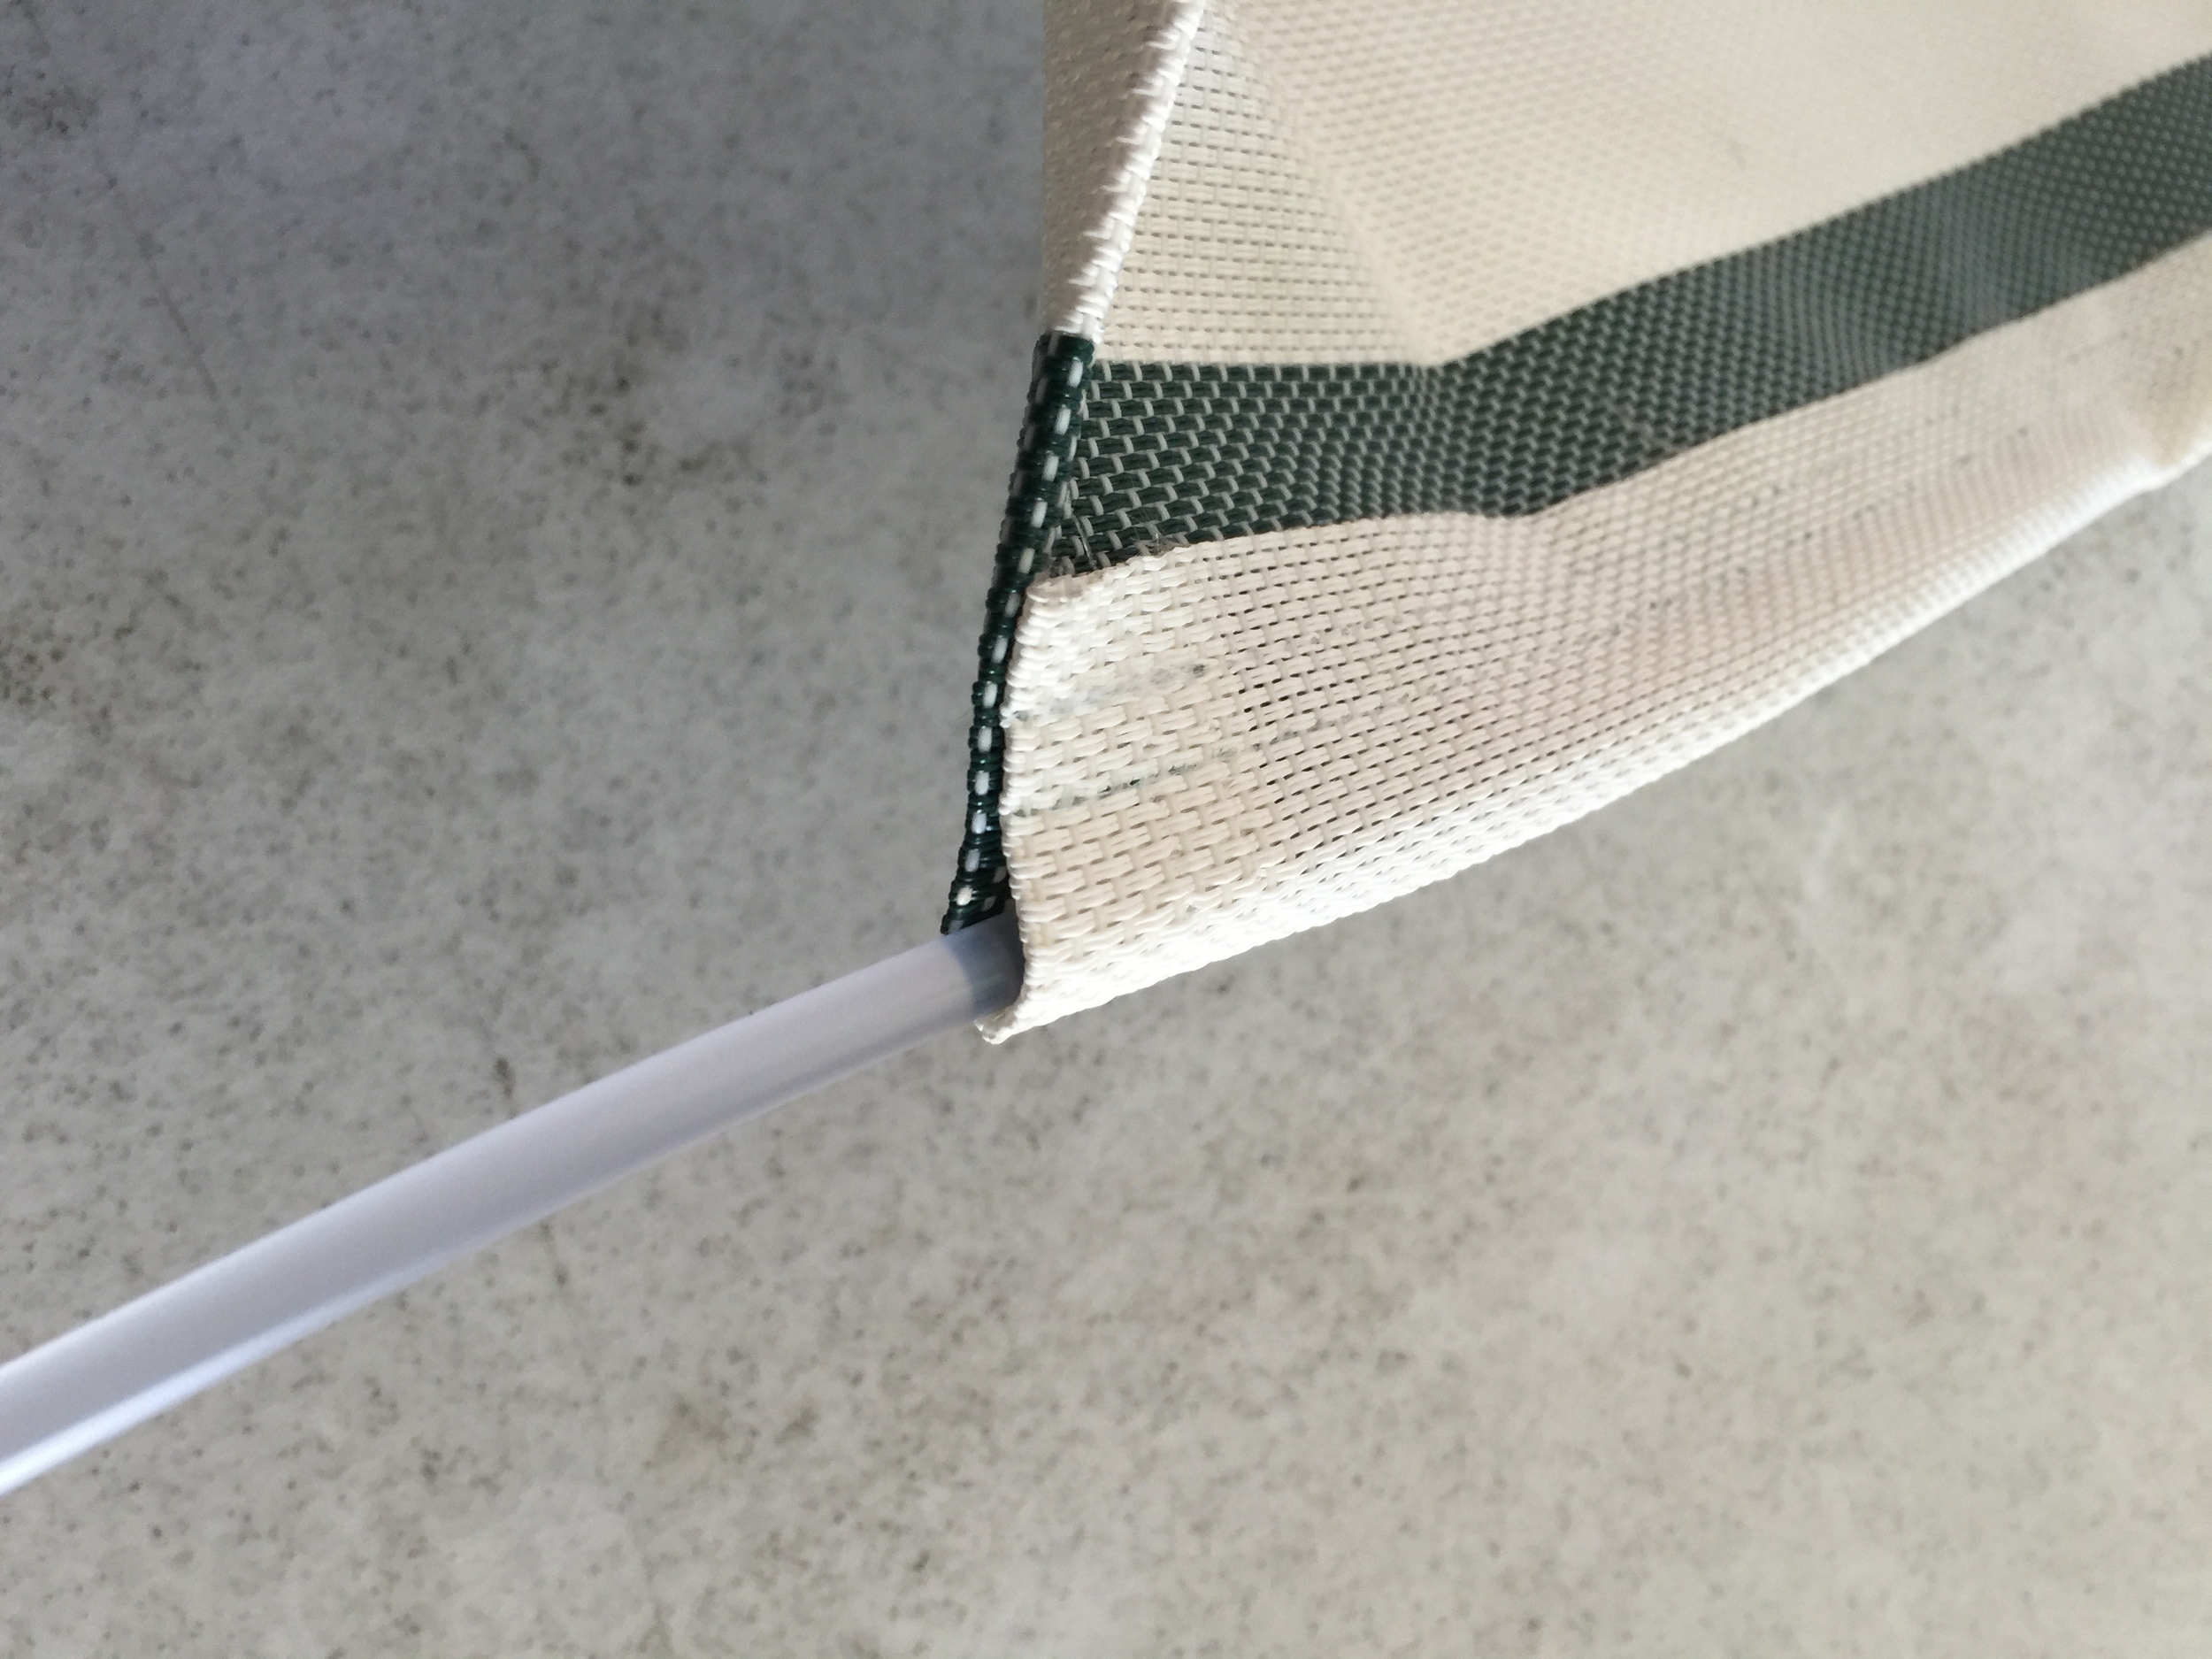
We include new spline or welt cord with each new sling (7/32 or 0.21875)"
Slings are double hemmed on each side with top and bottom being turned so no raw edge is visible on top
SHOULD I DO THIS OR GO BY NEW FURNITURE - Great question and one that needs evaluation. The new furniture at the stores does look very nice and there may be the time to make that call. However, your aluminum frames should almost have an infinite life to them. Not really, but you know what we mean. They are not going to rust. They are not going to rot. They are easily paintable. You like the chairs and they are comforable. They are already paid for and the dog likes them too for crying out loud. All you need is new seats on there. If you are primed for a bit of physical labor that should give you the next ten to 15 years - then this is an easy call. And…… you know how good a chair sits after YOU have refurbished it and saved money in the process. Easy to relax then. So, give it some thought and if you are up to the task - so are we. Save the $$$ and put new sling seats on YOUR ‘paid for’ furniture - We will take care of this end, you that end. All is good.
Something We Do Not Manufacture (?)
We do not manufacture new slings if you have chair rail splines that are HORIZONTAL on the chair (as opposed to vertical). This is to mean that the rails are at the top of the sling and the bottom of the sling. Honestly, these are EXTREMELY RARE MODELS, and no manufacturer will make this type and it is suggested to recycle the frames and start with new furniture.
Are Some Slings to too difficult to install (?)
Most chairs have a spreader bar in the top and bottom of the back of the chair. If these spreader bars are WELDED to the frame (VERY RARE - a struck by lightening type of analogy) - let us stop right now. Give the wife the credit card (YIKES) and let her go buy new furniture.
Sling Measurement Tips
Every chair, chaise, and ottoman must be measured. Always measure in the areas shown and measure Center of Rail to Center of Rail on the sides. Round UP to the nearest 1/16". Never measure an old sling as no accuracy may be determined from this. We will add necessary material for seam hem allowances so you never need to add any for seam.
Is There Any Warranty on Slings ?
Yes, industry standard for 50 years now has been ONE YEAR. Warranties do not cover fading, damage from animals, or organic matter. Again, if chipmonks make a meal out of your seating, that is not a warranty issue.
Can I Match My Existing Material or Use My Own Material (COM) ?
Unless you see it in our material inventory listing - then we will not be able to match. If you have found a material that you like, we can do COM (Customers Own Material) and make your slings in that option. However, keep in mind that you need to have concern about the overall thickness of the material and IF it will fit into your sling tracks after hemming. We will need to have a sample of it sent to us prior to production for approval and we will also need to tell you how many linear yards of the material that you will need. While we do not have hundreds of materials to choose from, we feel that our assortment allows for a number of different frame finishes. Also, consider that we are able to keep overall sling costs to a minimum by not having hundreds of different material inventories. You are buying from the manufacturer and therefore should save a bit VS getting thru a patio store.
What About these Plastic Inserts in my Chair Rails ?
We send you new spline - both sides - for each sling. 7/32” is the industry standard on the spline.
Expanded Sling Rails ?
Inspect your sling rails for H2O expansion. When H2O sits in a rail and air temp reaches 34 degrees F, water starts to expand all the way to down to 32 degrees F. This expansion can cause sling rails to buck or expand. This can be closed back to original space with a vice but must be closed or sling replacement will be an effort in futility. This is rare but worth the mentioning.
What is the Cost ?
Sling Chair Pricing Begins at $ 50. Most One-Piece & Two-Piece chair slings $ 50 to $ 80, material and size dependent. One-Piece & Two-Piece chaise slings run $ 110 to $ 150.
Refund / Return Policy ?
Understand that these replacement slings are custom made for YOUR furniture based upon YOUR provided dimensions. They are not made to fit anyone else's furniture. We want to make sure that one understands the process of how to take dimensions correctly - we will do our job in manufacturing to fit YOUR provided dimensions. Therefore, slings are not returnable and non-refundable if made to your specifications. Remember, measure THREE times, cut ONCE. All dimensions are to be made to be rounded UP to the nearest 1/16" or the nearest 1/8". DO NOT make adjustments for seams or hem - we will add necessary allowances for seams / hems. DO NOT take measurements from the very top of chair RAILS as they tend to naturally flair out over time. At the end of the day, our goal is HAPPY. Talk to us with issue.
So how do I place my order ?
Please Click - HERE - and follow the steps - but please read below to bottom of page to make you a pro before you order !
Sling Measuring Instructions and Tips


These dimensions, these measurements, MUST be taken with the sling installed and sling side rails tightened as in original use condition (i.e. Do not take anything loose or off to get your measurements)
Please Note in the WIDTH Measurement Examples Below that each sling SIDE RAIL has a hollow slot that runs the entire length of the rail. You want to take the dimension AT THE CENTER of the sling rail SLOT. The tape should originate exactly in the center of the rail SLOT- NOT AT EITHER EDGE. You will be measuring from center of rail slot to center of rail slot.
In the third image below is a flexible sewer's tape (white tape image) and this is the measuring device that you will want to use for the sling LENGTH so that you may lay flat on the sling to get the most accurate length dim by following the contours of the sling. If you do not have, dont waste resources, use a string or anything that you can lay flush on the material from top to bottom.


Aluminum Sling Installation Guide
OK, one of these will make your life much easier - or something similar that can do the job. You can even make a stretcher at home with 2x4’s and a good hinge but but this reversible clamp works well (see links below). For “MOST” sling model styles, you really need a PUMP-Style reversable clamp. This two-way clamp was picked up at Home Depot in Hardware area for ~ $ 29 and has many useful applications. Now, lets be clear, we are not suggesting you run out and drop another $ 30 just to get the job done but what we are saying is that a manual "hand-style" clamp will NOT get the job done. A "screw-type" clamp might likely the job done if a heavy duty model. Some make their own 2x4’s (See Here: DIY Outdoor Patio Chair Sling replacement using tools you have at home!! ) . The DeWalt in image can generate 600# of clamp pressure. Be advised that there is another clamp that looks identical that will exert 300# of pressure. Go for the 600 monster if buying. These are sometimes commonly referred to as 'furniture spreaders'. This one has clamps that are reversible (seen on right side of this image) and can exert OUTWARD pressure and THAT IS WHAT YOU NEED.
With a small flat-head screw driver, evenly and carefully pry ALL FOUR of the end caps up from the side rail. Be careful as these caps are likely brittle from being exposed to UV light. Do this slowly entire the periemter of the end cap being careful not to crack or break the cap. Do not try this using a quick 'crow-bar' style motion or it likely will break. OK, so if they break, what then ? At the end of the day, they are ONLY aesthetic anyway and serve no real function. If we have our druthers, sure we want them, so just be careful, but they are not needed for function. There are generic companies online that sell various dimension of end cap. If you need, take note of the shape and dims, then copy paste this link into your address bar http://www.patioproducts.com/parts.asp to see if anything is close. You may find that you need to modify a bit- no biggie.
Not a necessity, but spraying a lubricant down into the top of each sling rail may assist in removal. WD40 shown but is messy ! PAM Cooking Spray may be actually preferred. Keep in mind that after many years of use and outdoor settings that small sediment is likely in the sling trac. Again, no big deal.
Using a blade / knife, carefully cut down the center of the sling from top to bottom as shown. Work EACH side of material in sling rail back and forth in a 45 degree range. This is to loosen up 10 to 15 years of sediment that will be in the rail and to prepare for sling removal in next step.
Using a heavy duty grip device, grab a bit of the material and try to get an inch or more of the current sling spline pulled down and out. Now, lock onto the existing spline cording, and pull the sling out from the bottom. You sort of got to "un-freeze" it. Keep in mind that the sling has been sitting (in place) for some 10, 15 or more years. You would be stiff too if you were sitting tight that long. Once you "break" it free, it should fly on out of the rail. Now, due to time, UV light, old age, and the like, you may find that the SPLINE (solid plastic tube inside material hem and inside rail) may break into multiple pieces and remain in the rail. No worries, just take a think blade (letter opener, knife (careful here) or the like and methodically push the broken pieces of spline out the bottom end of the rail. You may find that time has turned the clear spline to brown in finish or color.

You will notice a few sling rail tension screws along one or both sides. FACING the chair, loosen up the bolt screws on the left rail about 75% the way off but leave the left rail attched and therefore the bolt screws on the left rail will be attached to base frame about 25%. Completely remove the RIGHT side rail. You may find that you need to remove BOTH rails but do not do so until you have proven that need.
Totally remove one or possible both sling rails. Try first to remove only the right side, leaving the left side 25% attached.
Thread / Fish the NEW spline cording into the hemmed pocket on the NEW SLING - leaving equal amounts on top and bottom exposed. Next, fish the new sling into the left (loosely attached rail) and then the completely removed right rail. Make sure the sling is even on both sides top to bottom and then go to next step below to attach the rails to the base frame. MENTAL NOTE - Please make sure the hem is on the BACK here folks !
Occasionally, we will have someone contact us with a concern that the NEW slings they received are too narrow. Not that they have necessarily installed them yet but upon a dimension measure, the WIDTH of the sling is exactly what they measured initially. Knowing that we would be adding to that dimension for installation, they believe them to be too narrow. Keep in mind that the material MUST stretch to arrive at the tautness that you desire at the end of the day. If we make them so easy for installation, the end result will be too loose for function or aesthetics. Again, the material will stretch to some degree, so you MUST use some sort of furniture stretching (rail-stretching device). This is no big deal but worth the mention because this is something that you likely do not do every weekend. See image directly below for example of furniture (rail stretching) device and use.
Using the clamp spreader bar, spread the sling rails apart until you can start a thread screw on the loose rail. Continue using the spreader clamp at ALL tension screws locations so that you may start the screws. Once screws are making thread contact, let the tension screws do all of the work. Leave your clamp spreader attached and exerting pressure and you may even want to pump the clamp a few times so that the screw tightening is easier. Trust us, once you do the first one - you will be like - "Oh, I got this ! " It is not something you want to do every weekend, no doubt. But once every 10 to 15 years..... its all good. Now you will be likely thinking that "these guys that made these things have goofed up and they are too narrow. Not likely, as the material stretches to a perfect tautness. Keep in mind that ONLY the material (as light as it is) is the only thing that is supporting the loaded-live weight and therefore it must be under a lot of E/W stretching pressure to get the job done. Don't worry.... you are good !


Tighten the Tension Screws on the both sides - BACK and FORTH, as you would lug nuts so that you get an even stretching across the sling. Trim the excess spline cording at top and bottom to be flush with the sling. When trimming the excess spline - use a pair of snips and not a flat blade of any type. You can snip the excess off easily where a blade may cut you or the sling. Re-Install the caps at all four corners. If you find a bit of material is sticking out and making it tough to place end cap back in place - just get your little extension flame clicker and melt the material back a bit and stuff into rail. Now, put that end cap back on.
Then you can kick back, grab the lemonade, and relax in your renovated furniture and we can talk again in Ten to Fifteen Years !
Still not convinced that you can Git-Er-Done ? Then watch countless videos on the subject HERE We advise watching a few videos as you will be able to take the best ideas from all and combine into your perfect project job. Please take special note of one video in particular by ERIC M at this LINK: DIY Outdoor Patio Chair Sling replacement using tools you have at home!! He shows a DIY and self-made stretching tool using 2x4’s and hinges. A great idea that could work for you. Additionally, in HIS model of furniture (if like yours), you may need to do exactly what he has done because the design is in essence a ‘frame within a frame’ so-to-speak as the lumbar and bottom of chair has a heavy duty stretcher frame that stays in place. To place it back properly will likely require the same “stretcher” that Eric has designed.
OK, now you are ready, take those dims, choose a material HERE, and lets get it done. Side Note: we do have some Overstock slings, ready-to-ship, in various materials in various and listed dims. These are an overage of cutting, an oops by a customer, or Freddie did not have his coffee that morning in manfacturing, you name it but we want to move them. This is to your advantage. Even if the length dims are not perfect (the width needs to be fairly close) this is all about a price-point incentization with good looking sling seating. Again, these are listed at prices BELOW our manufactured cost ! You may view the overstock AL slings HERE.


We manufacture sling seating and replacement sling seating for Patio Chairs. Call them what you will, Patio Seats, Patio Seating, Chair Slings, Replacement Patio Slings, they are all one in the same. Therefore, regardless of what type of Aluminum Patio Furniture you have, we can manufacture the replacement sling seating for your product. All of our Replacement Sling Seating is manufactured domestically in the State of TN.
American Brand Company Using American Brand Equipment and Products